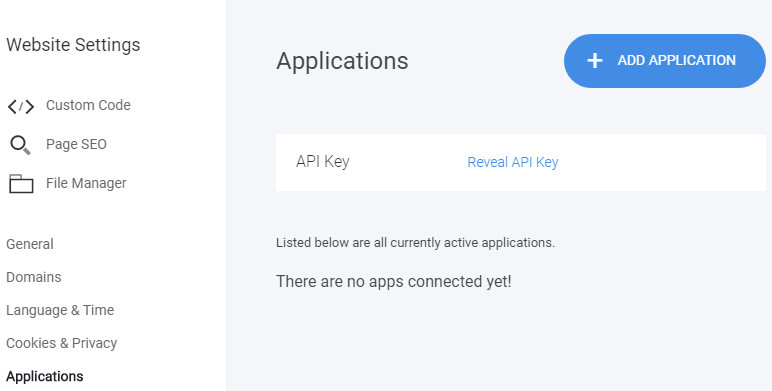
To connect MooSend to your website simply go to the Website/Funnel Settings menu and select Applications. Then click Add Application on the right-hand side.
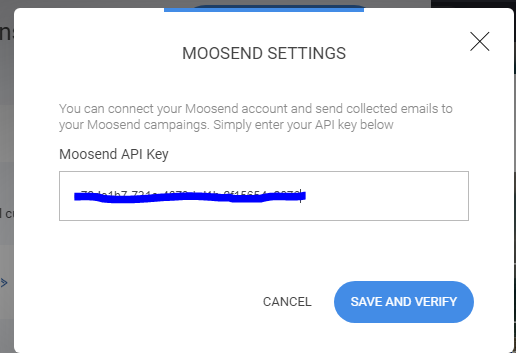
Afterward, click on Connect for the MooSend integration, and add your MooSend API key.
If you do not know your MooSend's API Key, follow these steps:
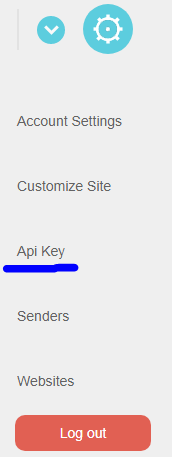
1) Login to MooSend and click on Settings->API Key;
2) Copy the API Key and enter it in your MooSend's popup in the builder, Save, and Verify.
Once connected, every form, member or store will have the option to send the leads to MooSend.
Let's see how to send inputs from a form to your MooSend lists:
- Add a form widget
- Click on the form widget and open the controls
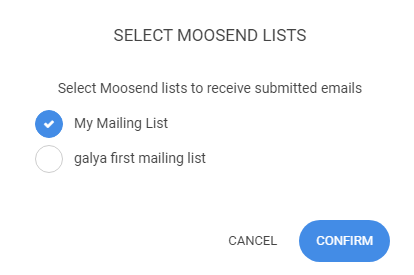
Click on the MooSend Settings button and select a list you’d like to send the data to
This way, the form will send all the leads to MooSend
4.You can send form fields to custom fields in Moosend. Once the list is selected, you should add the corresponding field in MooSend to each form field's settings:
- Click on Edit Fields;
- You will see that there is a field to add the names of the fields in MooSend. Copy Field Names and paste them into the settings of the fields, that you want to send the data from.;
- This way all the information form each field in your form can be sent to your MooSend's list with the respected fields there.
Note that the required fields in MooSend must be added and the fields will always be sent as type TEXT.
All the Tags will be sent to MooSend.
You can connect lists to the Checkout widget and Membership registration/login page:
Connecting to a Checkout Widget:
Connecting to Membership Registration/login widget:
You can go into the settings of the Membership Registration/Login widget that you can add on any page and adjust the List and Fields like in the Form widget.
(For the system Membership Reg/Login page: Click on Pages -> System Pages -> Membership Registration/Login page)


